
How to: Link Your Aruvo Account to Cloudbeds
🧾 Summary
Connecting Aruvo to your Cloudbeds Property Management System (PMS) allows for a seamless flow of reservation and guest information, keeping everything in sync automatically. This guide will walk you through the simple and secure three-step process to link your Cloudbeds account with Aruvo.
🕐 When to Use This Guide
Follow the steps in this article when:
- You've configured your Aruvo account and added at least one property listing
- You need to connect a Cloudbeds account to Aruvo
✅ Before You Begin
Ensure you have the following ready to ensure an easy setup:
- Aruvo account - If you have not set up your account yet, follow the steps in this article to create and configure your account.
- Configure your branding and theme - If you have not completed these steps during initial account setup, follow the steps in this guide to configure your theme and branding.
⚙️ Steps to Connect your Cloudbeds account
Open the web portal to Aruvo TV
If you have not created your Aruvo account yet, follow the steps to get started at How To: Create your Aruvo TV account.
Step 1: Link PMS
1. In your Aruvo account, navigate to the Integrations section.
2. Search for and select Cloudbeds.
3. You will be prompted to enter an Integration Name. This is for your reference only, so you can easily identify the connection.
4. Click "Authorize." This will initiate the secure connection process and open the Cloudbeds login page to proceed.
Step 2: Authorize PMS
1. After clicking "Authorize," you will be redirected to the secure Cloudbeds login page.
2. Enter your Cloudbeds login credentials. This allows Aruvo to access your property information.
Important Notes:
1. If you manage multiple properties under different Cloudbeds accounts, ensure you log in with the correct one.
2. It is highly recommended to use a Cloudbeds account with super-admin or property owner permissions to ensure all your properties are accessible for import.
3. If you use an account with limited access, Aruvo will only be able to import units from the property that the account has access to.
Step 3: Import Units
Click "Import Units from PMS" to proceed with the import, and the system will collect a list of all units that are set up on your Cloudbeds account.
- Once you have successfully authorized your Cloudbeds account, you will see a confirmation screen in Aruvo.
- This screen will show that the "Link PMS" and "Authorize PMS" steps are complete.
You will then have two options:
1. Import Unit(s) from PMS: This will immediately begin fetching your units and reservations from Cloudbeds and importing them into Aruvo.
2. I’ll Do It Later: This will save the connection to Cloudbeds, and you can import your units at a later time. You will be redirected back to your Aruvo dashboard.
Important Note:
- The PMS Sync Status will be "Disabled" by default when you link a PMS Integration on the Aruvo Portal, Sync status should be enabled so that the stay details can sync to the respective property on the Aruvo Portal.
- You will be able to Import the units from the PMS even if the PMS Sync status is disabled. How to: Turn PMS Stay Syncing On and Off
- Click the check-box to select individual units to import, or use the "Select All" check-box to select all units.
- You can use the "Search Unit" button to search for a specific property listing.
If you don't see a property that was recently added to Cloudbeds, click the "Re-Sync Units" button to refresh the list.
When the import has completed, Aruvo will display a list of all units that were imported successfully. From here, you can click the "Go To Units Page" button to review the imported properties, and edit any details for individual units if desired.
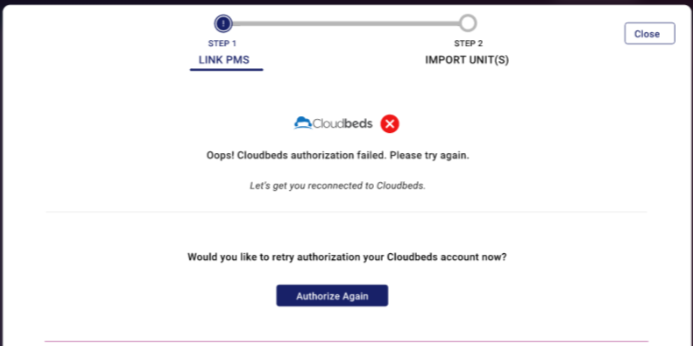
💡 What Happens if Authorization Fails?
If the authorization with Cloudbeds is not successful, you will see an error message.
Common reasons for authorization failure include:
- Incorrect or expired Cloudbeds login details.
- The Cloudbeds account used does not have the necessary permissions.
-
A temporary connectivity issue
You will be given the option to Authorize Again to retry the process or Close to exit.
Important Note:
If you entered an Integration Name but did not complete the authorization, the integration will still be saved in your Aruvo account. You can return to the Integrations page at any time to complete the authorization.
🛠️ Managing Your Cloudbeds Integration
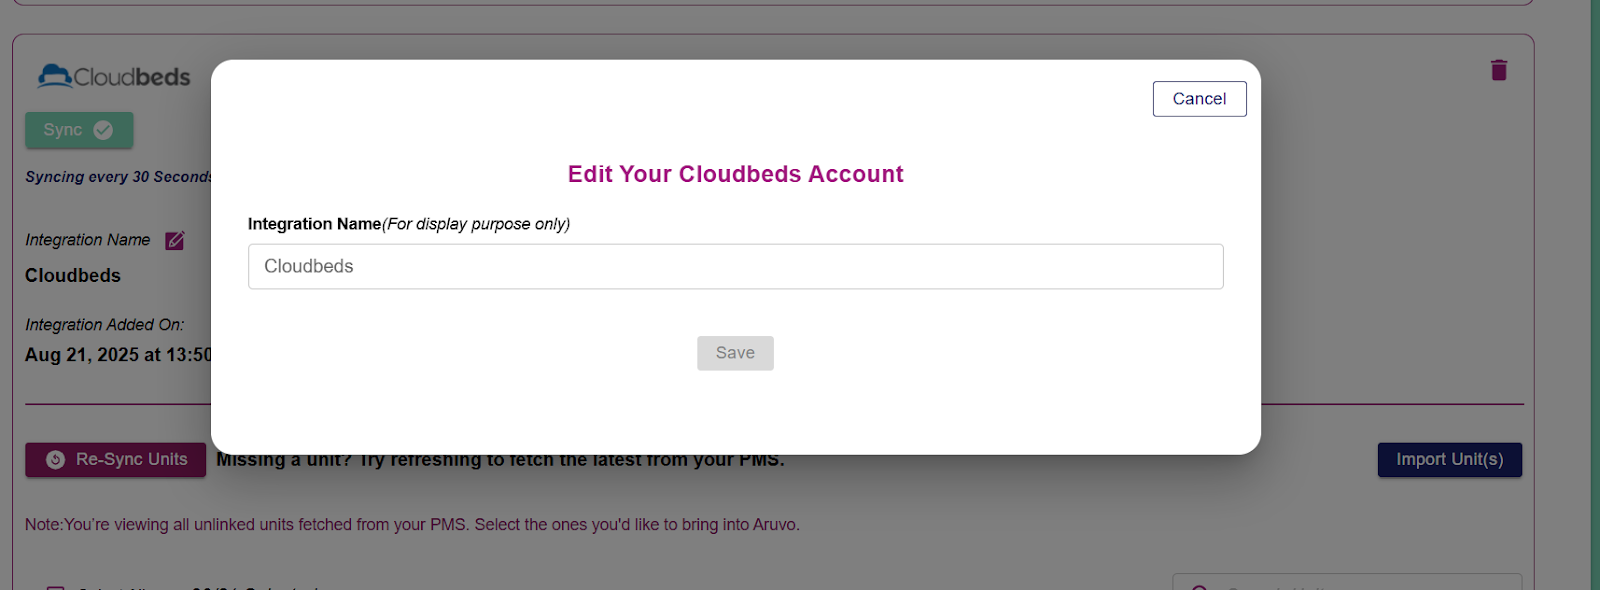
How to Edit the Integration Name:
- Navigate to the Integrations page.
- Find the Cloudbeds integration you wish to update.
- Click the Edit icon.
- Enter the new name and save your changes.
Delete Integration: (Please be aware that deleting a PMS integration is a permanent action and cannot be undone)
- Navigate to the Integrations page.
- Find the Cloudbeds integration you wish to remove.
- Click the Delete icon.
- A confirmation window will appear, warning you that this action will permanently delete the integration, all associated units, and any linked TVs.
- To proceed, you must type the confirmation word (Delete) into the text box. This is case-sensitive.
- Upon confirmation, all data related to this integration will be permanently removed from your Aruvo account.
Comments
0 comments
Article is closed for comments.